Driving Lessons for Newcomers Canada
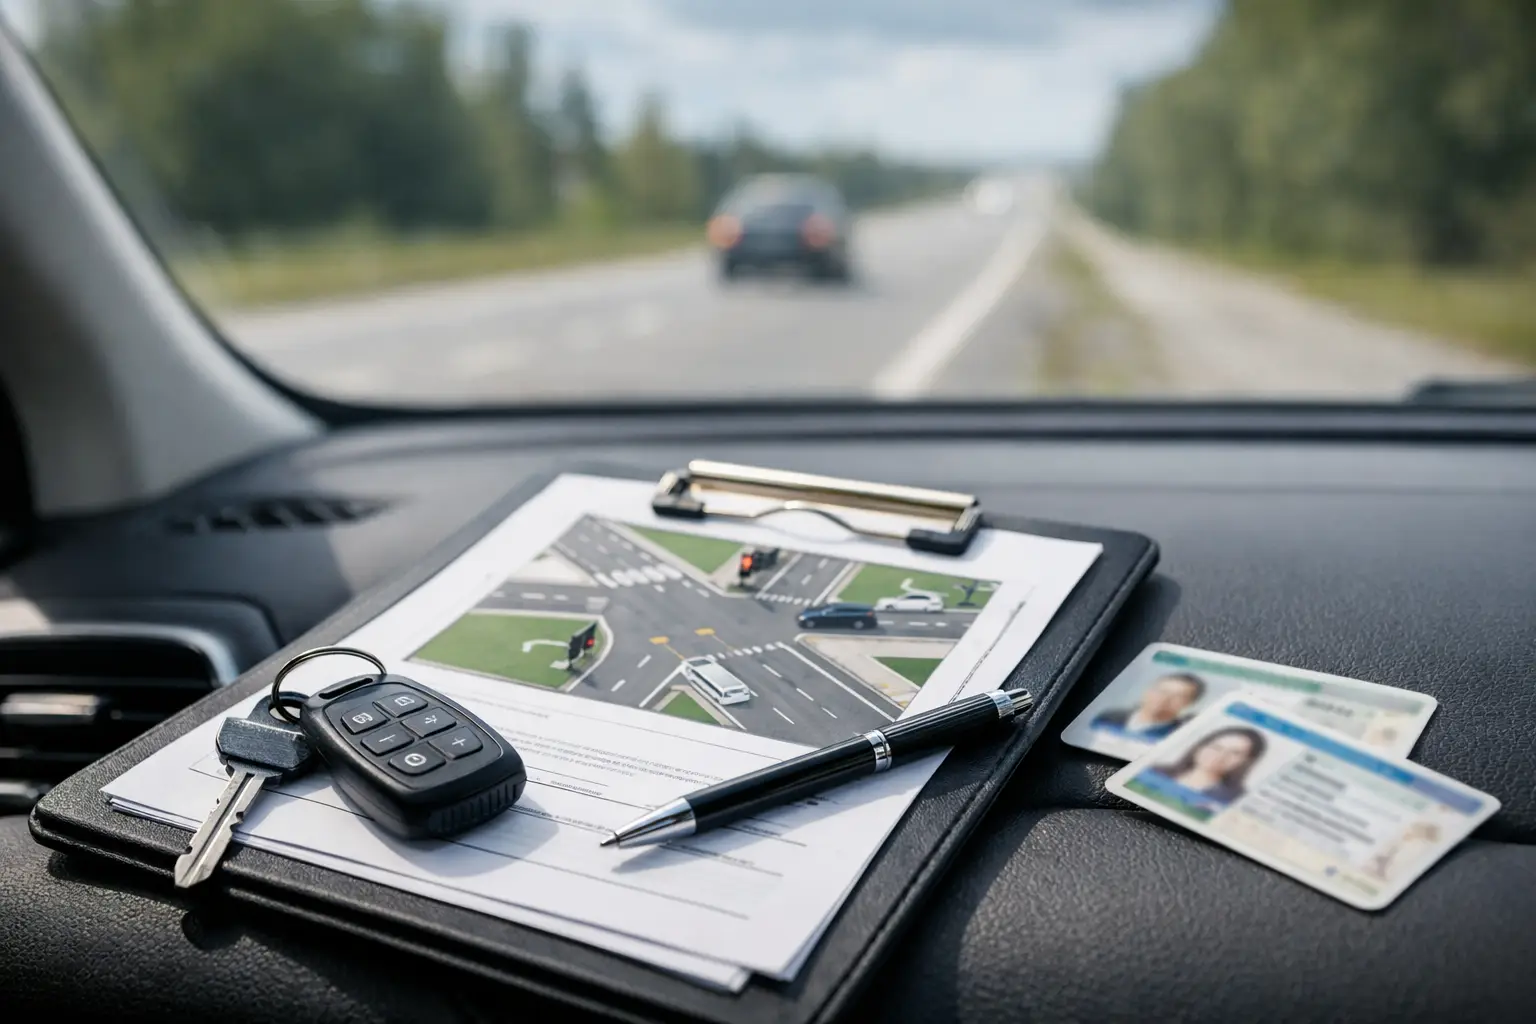
Landing in Canada often means learning more than a new address, a new job, or a new transit map. For many people, driving lessons for newcomers Canada are part of getting settled fast – especially when work, school, childcare, or daily errands are hard to manage without a car. The challenge is not just learning to drive. It is learning how driving works here, how licensing works in your province, and how to build confidence without wasting time or money.
That is why the best lessons for newcomers are not one-size-fits-all. A new driver who has never been behind the wheel needs a very different approach from someone who drove for ten years in another country. Some newcomers need full beginner training. Others need help adjusting to Canadian road signs, lane discipline, winter conditions, and road test expectations. Good instruction starts by figuring out where you are now and what will move you forward fastest.
Why driving lessons for newcomers Canada matter
A lot of experienced drivers assume they can simply convert their habits and be ready. Sometimes that works. Often, it does not. Even confident drivers can struggle when local rules differ from what they learned before. Right turns on red, four-way stops, school bus laws, shoulder checks, speed enforcement, and test scoring can all feel unfamiliar.
There is also the pressure factor. Newcomers are often balancing work schedules, housing paperwork, family responsibilities, and language adjustment at the same time. That pressure makes it easy to rush into a road test before you are ready or to practice with someone who means well but cannot teach clearly. A structured lesson plan saves time because it focuses on exactly what the examiner will expect and exactly what skills still need work.
Professional lessons also reduce the guesswork. Instead of wondering whether your turns are wide, your parking is acceptable, or your lane changes are safe enough, you get direct feedback from someone who sees these issues every day. That kind of clarity matters when every failed test means more stress, more delay, and more expense.
What newcomers usually need help with first
The first gap is often not vehicle control. It is local driving culture. Many newcomers already know how to steer, brake, park, and handle traffic. What throws them off is the expectation of constant mirror checks, full stops, space management, and visible observation habits. In Canada, driving safely is not enough for a road test if the examiner cannot see that you are making safe decisions consistently.
The second gap is licensing knowledge. Each province has its own process, timelines, and test structure. If you are in Ontario, for example, you may need help understanding the G1, G2, and G system, what experience counts, and what training can speed up your progression. A practical instructor should explain this clearly instead of assuming you already know it.
The third gap is confidence. This is especially common among adults who feel embarrassed about being learners again. Some drove comfortably in busy cities abroad but feel nervous here because the rules and evaluation style are unfamiliar. Others have not driven in years and need a calm return to the road. Patient coaching matters just as much as technical instruction.
How to choose the right driving school as a newcomer
The best school for you is not always the cheapest one, and it is not always the one with the biggest package. It depends on your background, your timeline, and how much support you need outside the car.
Look first at teaching style. If you are anxious, you need an instructor who is calm, specific, and patient under pressure. If you already have experience, you need someone who will not waste your time on basics you have mastered. Good instructors adapt. They do not force every student into the same lesson sequence.
Local road test knowledge is also a real advantage. A school that understands the roads, traffic patterns, and common test areas in your city can prepare you more efficiently. That does not mean memorizing one route and hoping for the best. It means practicing the kinds of situations you are likely to face and correcting the mistakes that examiners commonly mark.
Flexibility matters too. Newcomers often work shift jobs, manage family schedules, or depend on limited availability. If scheduling is rigid, progress becomes slow. A school that offers flexible bookings and clear package options is easier to stick with.
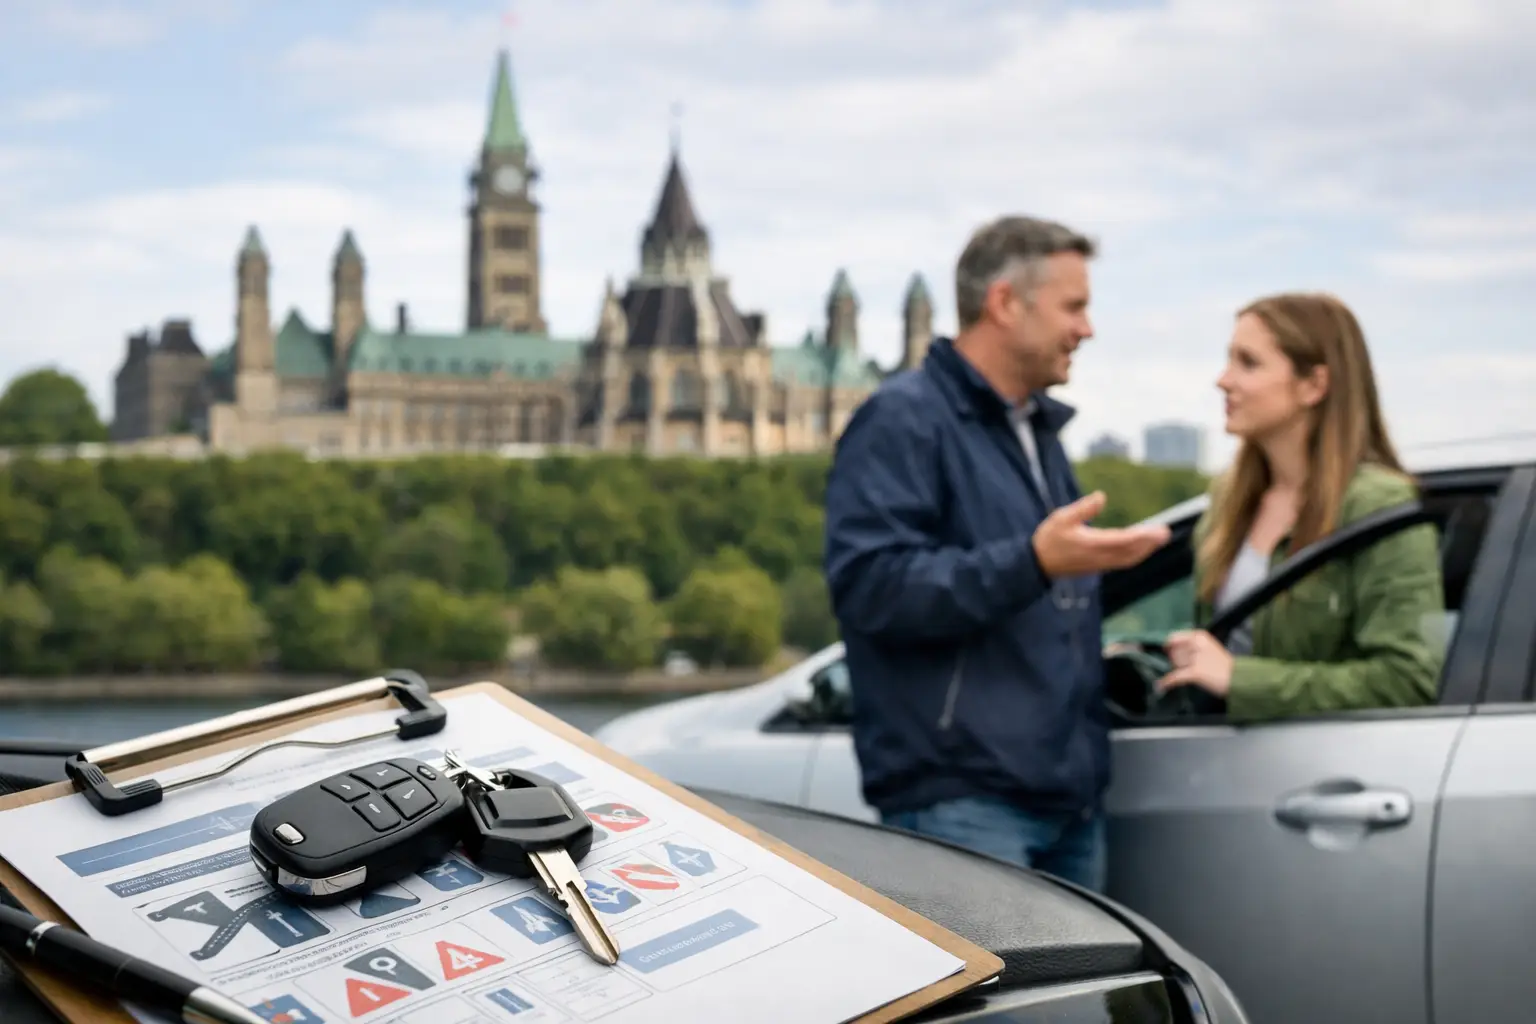
If you are in Ottawa, this is where a local, service-focused school can make a noticeable difference. Autoz Driving School, for example, is built around private instruction, test preparation, and structured coaching that helps learners move from uncertainty to road-readiness without unnecessary steps.
What a good lesson plan should include
A strong lesson plan starts with an honest assessment. Can you control the car smoothly? Do you understand right-of-way rules? Are you checking blind spots correctly? Can you merge with confidence? Are your parking skills test-ready? You need answers early, not after several paid lessons.
From there, lessons should be progressive. Early sessions may focus on observation, lane positioning, turns, intersections, and speed control. Later sessions should build into lane changes, parking, defensive driving, and mock road test practice. If you already have driving experience, that timeline can be compressed. If you are brand new, it should be paced carefully.
Good training should also include correction in real time. Vague comments like “be more careful” do not help much. Useful coaching sounds more like this: check your mirror sooner, complete the shoulder check before moving, stop fully behind the line, or keep more space from the car ahead. Specific feedback builds skill faster.
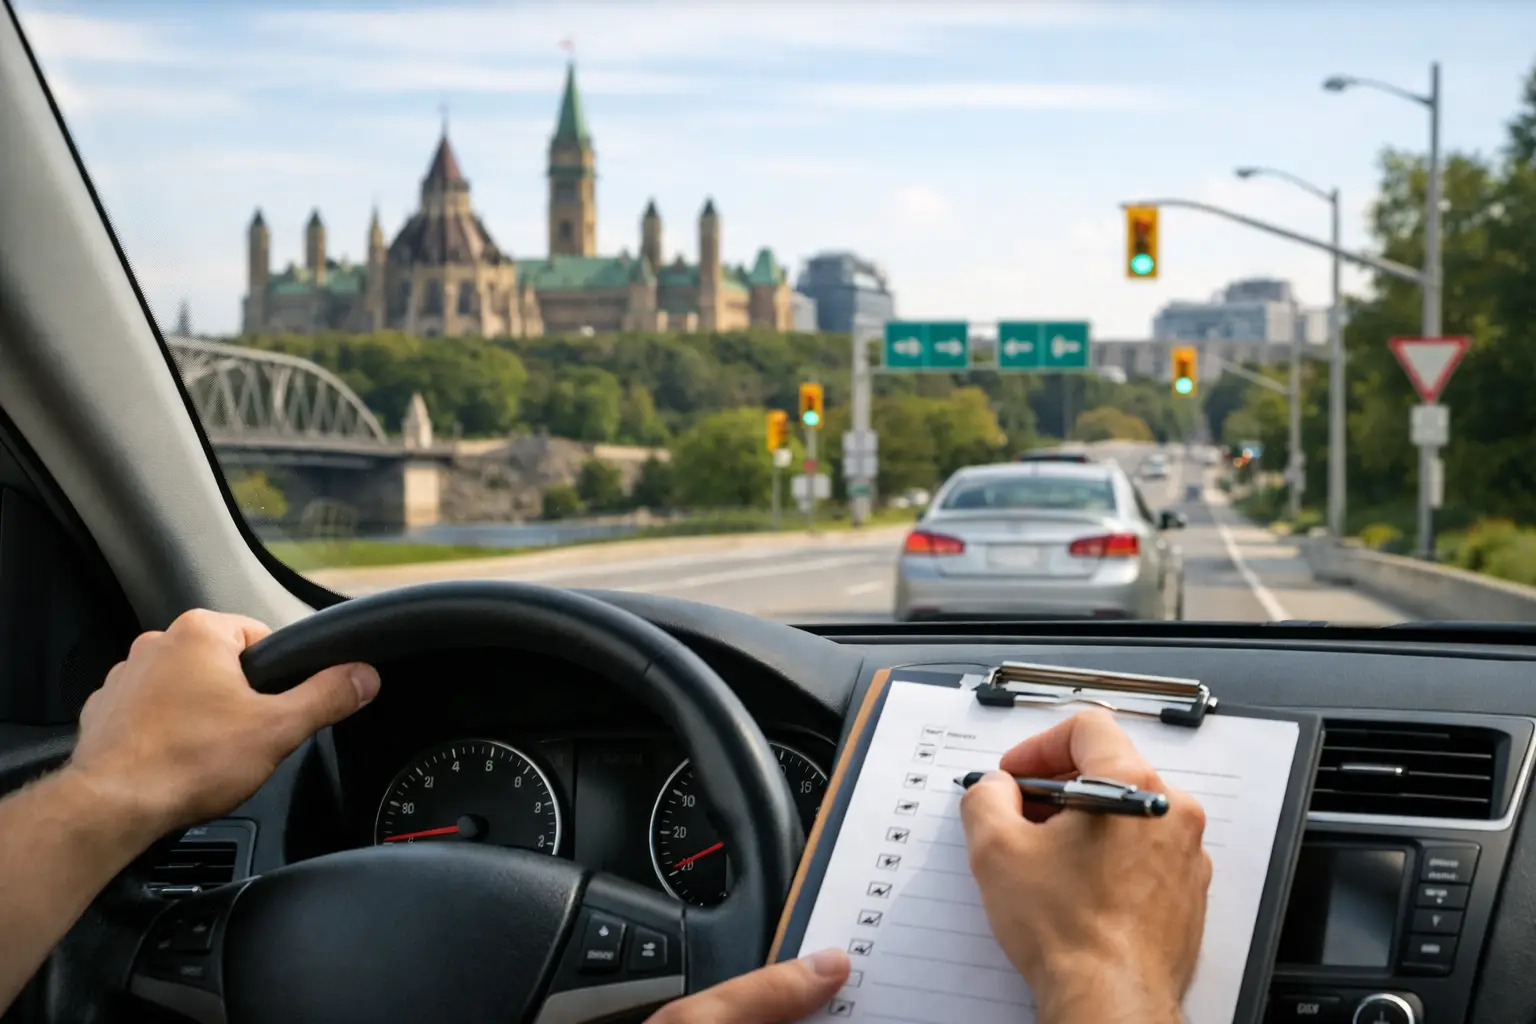
Road test prep is different from basic driving practice
This is one area where many newcomers lose time. A family member may help you practice, but road test prep is a separate skill. Passing depends on more than being able to get from one place to another safely.
An instructor focused on test success will watch for the habits that cause failures: incomplete stops, weak observation, late signaling, rolling turns, poor lane discipline, and hesitation at intersections. They will also help you manage test nerves, because anxiety can make even solid drivers miss simple steps.
Mock tests are especially useful when done properly. They show whether your performance stays consistent under pressure. They also reveal patterns. Some learners drive well until they need to parallel park. Others do fine in quiet streets but lose focus in heavier traffic. It is better to find those issues in practice than during the actual exam.
The trade-off between speed and confidence
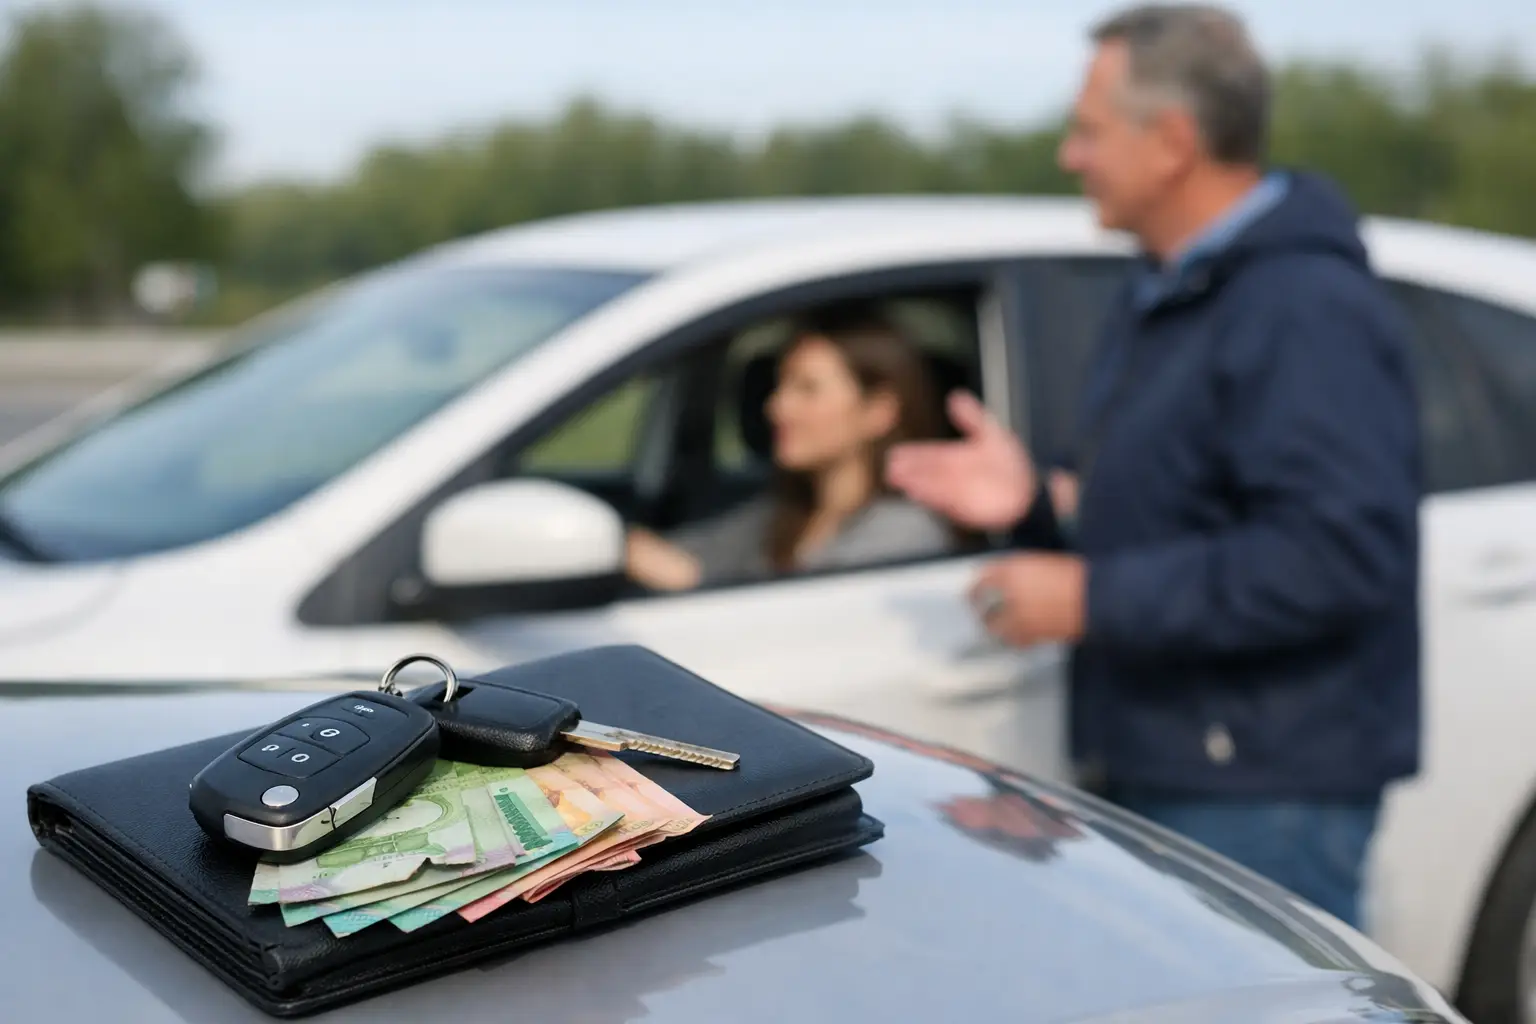
Most newcomers want to get licensed quickly, and that makes sense. Driving can open up job options, shorten commutes, and make family life easier. But rushing can cost more than pacing yourself properly.
If you book too soon, fail, and then need extra lessons, you often spend more overall. On the other hand, waiting too long can also slow your progress if you are ready but hesitate out of fear. The right pace is usually somewhere in the middle: enough lessons to correct the habits that matter, enough independent review to retain the skills, and a test date that gives you a real chance of success.
That is why personalized coaching works better than generic packages. Some students need a full training path. Others need only a few targeted sessions and a road test warm-up. What matters is efficiency with a purpose, not just clocking hours.
Common mistakes newcomers can avoid
One common mistake is assuming previous driving experience automatically translates to test readiness. It helps, but local expectations still matter. Another is choosing lessons based only on price. Lower prices can look attractive, but if instruction is rushed or inconsistent, you may pay again later in retests and extra practice.
Some learners also avoid asking questions because they do not want to seem inexperienced. In reality, clear questions speed up progress. If a sign, rule, maneuver, or examiner expectation is confusing, it should be explained simply. Good instruction removes uncertainty.
And finally, many adults are harder on themselves than they should be. Learning to drive in a new country is not a small adjustment. It takes focus, repetition, and patience. Progress is rarely perfectly linear, especially when nerves are involved.
A better way to start
If you are looking into driving lessons for newcomers Canada, the smartest first step is to choose instruction that matches your actual situation. Not every newcomer is a beginner, and not every experienced driver is test-ready. The right training should feel structured, practical, and calm from the first lesson.
You do not need more confusion. You need a clear plan, patient feedback, and practice that prepares you for the roads you will actually drive. With the right support, the process becomes much more manageable – and a lot less intimidating.
Getting licensed in Canada is not just about passing a test. It is about feeling steady when you drive to work in the morning, pick up your kids, handle a busy intersection, or deal with a snowy day for the first time. That confidence is built one lesson at a time, and it is worth building the right way.