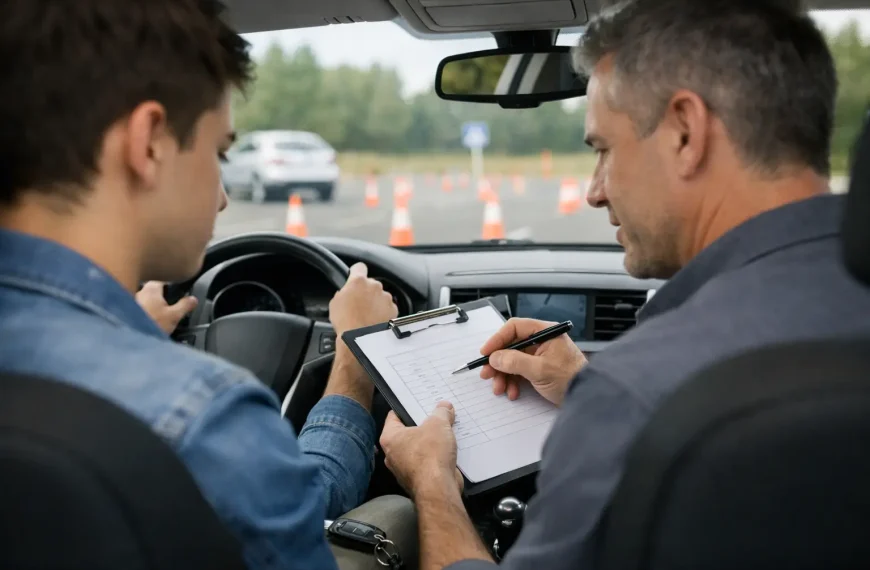
A lot of learners get tense the moment they hear they may be asked to do a three point turn driving test maneuver. Not because it is the hardest part of the road test, but because it can feel awkward when someone is watching every move. The good news is that this is one of the easiest skills to improve quickly when you know exactly what the examiner wants to see.
At its core, a three-point turn is not about turning your wheel fast or finishing in the fewest seconds possible. It is about judgment, observation, control, and staying calm. If you can show that you check traffic properly, move slowly, and position the car safely, you are already doing most of what matters.
What the examiner wants during a three point turn driving test
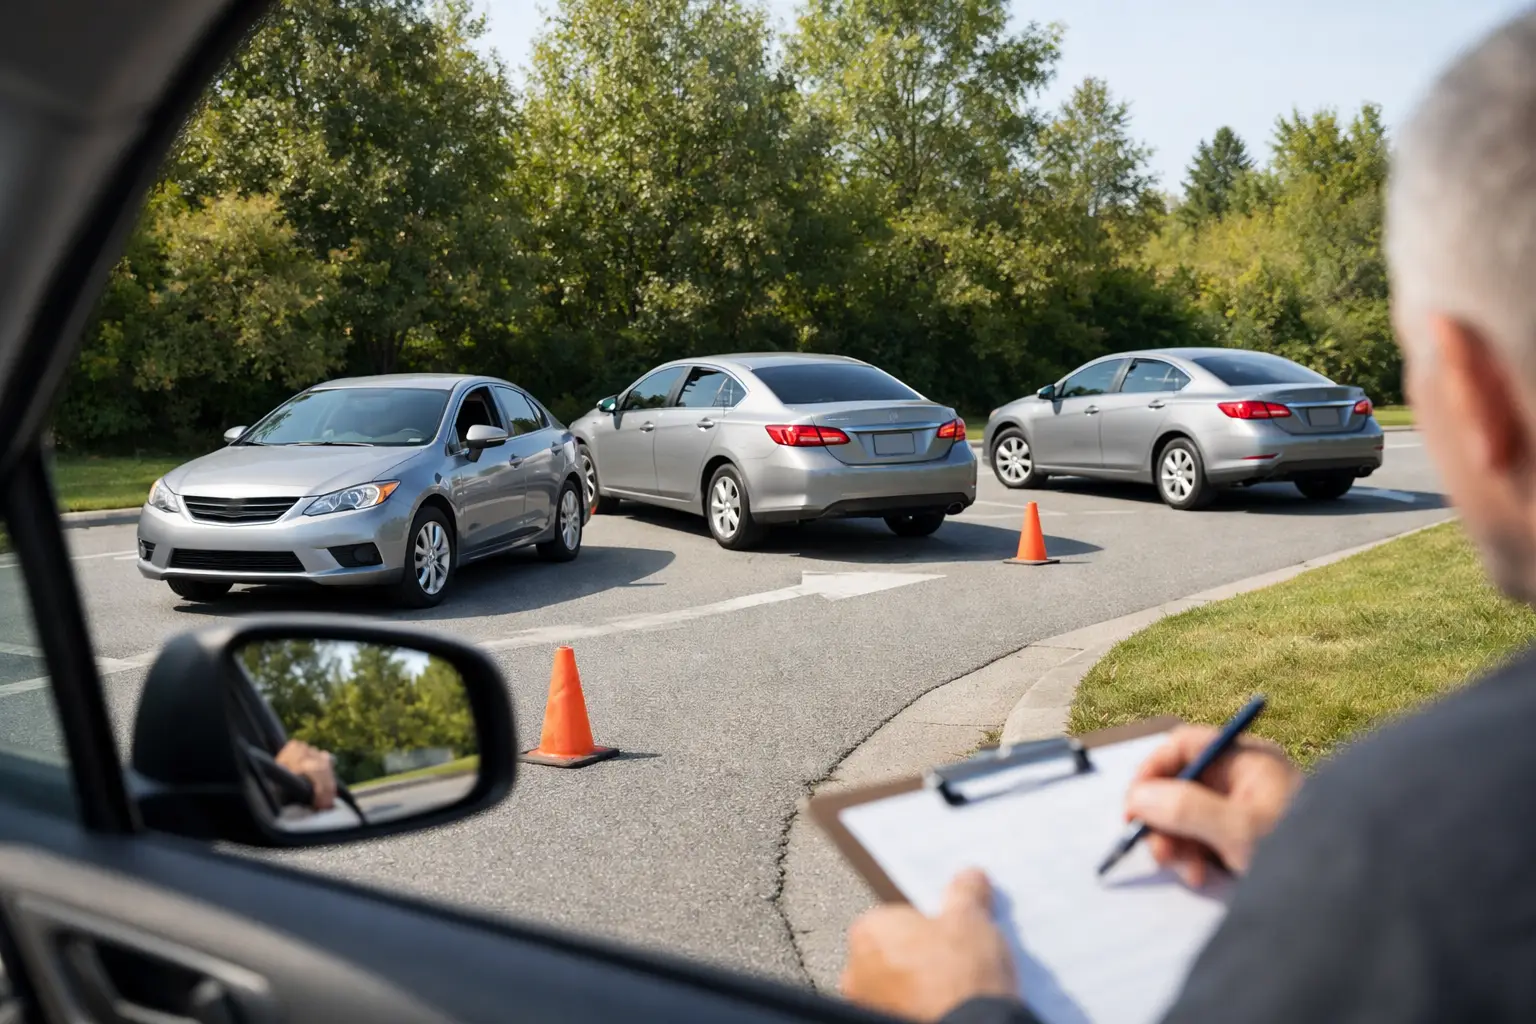
Examiners are not looking for a flashy maneuver. They want proof that you can turn a vehicle around on a quiet street without creating risk for other drivers, cyclists, or pedestrians. That means your checks matter just as much as your steering.
Before you begin, you need to choose or respond to a safe location. If the road is too narrow, too busy, near a hill, close to an intersection, or blocked by parked cars, that can make the maneuver harder and less safe. Sometimes the examiner picks the spot. Sometimes you are expected to carry out the turn where instructed. In either case, your job is to stay composed and work with the space you have.
Most examiners are paying close attention to whether you scan all around the vehicle before each movement. They want to see you check mirrors, look over your shoulder, and be aware of anything that could enter your path. If a car appears, it is often better to wait than to rush. A short pause with good judgment looks much better than forcing the maneuver and hoping others stop for you.
How to do a three-point turn correctly
The basic sequence is simple, but the details are what help you pass. Start by pulling over safely on the right side of the road, unless local rules or the test setup require something different. Signal if appropriate, stop smoothly, and keep the car straight.
When told to begin, check traffic in all directions. Signal left if required in your area, then move forward slowly while turning the steering wheel left. Your goal is to cross the road toward the opposite curb without touching it and without ending up at a sharp, awkward angle.
Stop before the front tires hit the curb. Shift to reverse, check all around again, and back up slowly while steering right. This should swing the rear of the vehicle across the road. Stop before the rear tires touch the curb.
Then shift back to drive, do another full set of checks, and move forward into your new lane. Straighten the vehicle, cancel any signal if needed, and continue when safe.
That is the full maneuver, but real test performance depends on how cleanly you handle each transition. Smooth braking, clear observation, and proper steering control often matter more than whether the turn happens in exactly three moves. On some streets, a small adjustment may be necessary. That does not always mean failure. Losing safety or awareness is the bigger problem.
The most common mistakes learners make
The biggest mistake is forgetting observation checks between each part of the maneuver. Many students look once at the beginning, then focus only on the wheel. On a road test, that can cost points quickly because it suggests you are not actively managing changing traffic conditions.
The second common mistake is moving too fast. Nerves make people hurry. They release the brake too quickly, steer too aggressively, or reverse before fully checking behind them. A three-point turn should feel controlled and deliberate. Slow is good here.
Another issue is poor stopping distance from the curb. Some learners stop too far away, which wastes space and makes the next step harder. Others get too close and risk touching the curb. That usually comes down to practice and learning how your car responds at low speed.
There is also the problem of oversteering and late steering. If you turn too early or too late, the car ends up in a weak position for the second or third move. This is where one-on-one instruction helps a lot, because a coach can show you exactly when to begin turning based on the size of the road and the vehicle you are driving.
How to practice without building bad habits
Practicing the three-point turn on random streets is not always the best approach. You want a low-traffic residential road with enough width to learn the rhythm safely. Start when the road is quiet so you can focus on the sequence instead of feeling pressured by other vehicles.
At first, do the maneuver slowly enough that you can say the checks out loud in your head. Mirror, shoulder check, move. Stop. Check again. Reverse slowly. Stop. Check again. Move forward. That structure helps reduce panic because you always know the next step.
It also helps to practice in the same type of vehicle you plan to use for the road test. Every car has a slightly different turning radius, visibility profile, and brake feel. If you switch vehicles at the last minute, you may still know the maneuver, but your timing can be off.
If you are struggling, do not keep repeating the same mistake without feedback. Repetition only helps when the technique is correct. A patient instructor can usually spot whether your issue is observation, steering timing, road positioning, or confidence.
When the three-point turn feels harder than it should
Sometimes learners know the steps but freeze when the test begins. That is normal. Test anxiety changes how people think, especially during low-speed maneuvers that require patience.
If that sounds familiar, simplify the task. Instead of thinking, I have to do this perfectly, think, I only need to complete one safe movement at a time. First move safely. Stop. Second move safely. Stop. Third move safely. That mental reset often works better than trying to force confidence.
It also helps to accept that perfect is not the standard. Safe, aware, and controlled is the standard. A slightly wider angle or a brief pause does not ruin your test. Ignoring traffic, rolling too fast, or missing checks is what causes trouble.
Three point turn driving test standards can vary
This is where many online articles become too absolute. In real testing, exact expectations can vary by state, examiner, road width, and the type of test you are taking. Some road tests may include a three-point turn. Others may focus more on parallel parking, lane changes, and general traffic handling.
That is why local preparation matters. A maneuver that works well on a wide suburban street may need adjustment on a narrow residential road. A driver who learned years ago may give advice that is technically possible but not aligned with current testing standards.
For students preparing in Ottawa, this is one reason schools like Autoz Driving School put so much focus on structured, local practice. Knowing the general rule is helpful. Knowing how to perform it calmly under test conditions is what actually raises your chances of passing.
What to remember on test day
Do not treat the three-point turn as a special event that needs extra drama. Treat it like any other safe driving task. Listen carefully to the instruction, take a breath, and begin only when you are ready.
Keep your head moving naturally so the examiner can see that you are checking. Use slow, steady brake control. Turn the wheel with purpose, but do not rush the car. If another road user appears, yield and wait. That shows maturity, not hesitation.
And if the maneuver is not perfect, stay mentally steady. Many learners make a small correction and then spiral because they assume they have failed. Usually, they have not. One imperfect movement does less damage than losing focus for the rest of the test.
Confidence on a road test does not come from guessing what the examiner wants. It comes from practicing the right habit until it feels familiar, and then trusting yourself to repeat it when it counts.