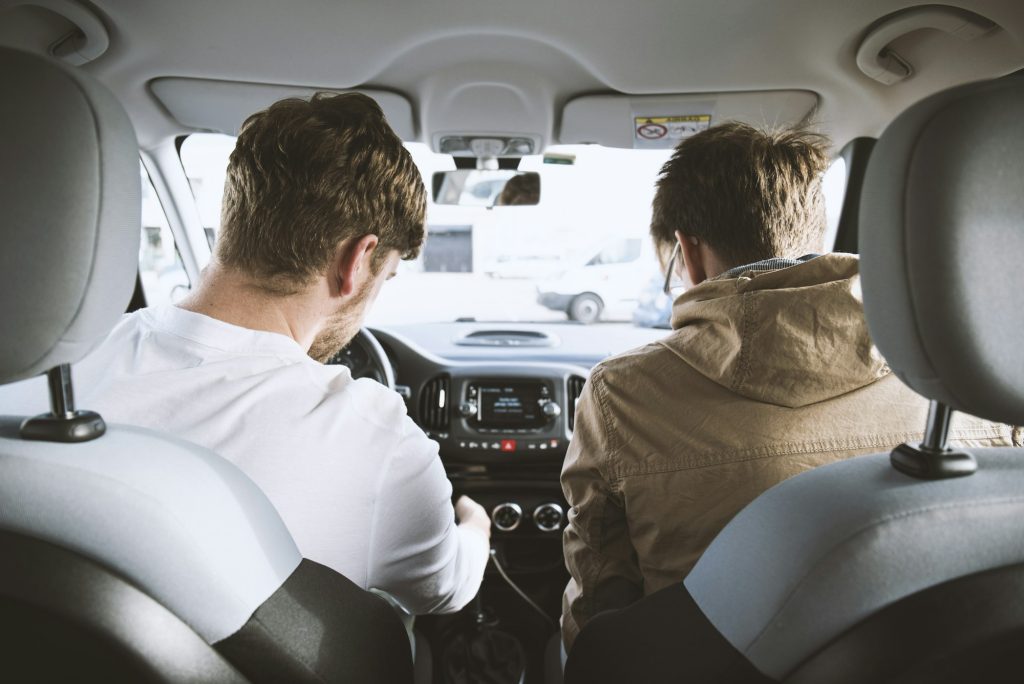
A sudden stop is one of the fastest ways to expose a driver’s habits. Do you look ahead, keep both hands steady, press the brake firmly, and stay in your lane? Or does panic take over? Emergency braking practice gives new drivers a safe, controlled way to replace that panic with a clear response before they need it on a real Ottawa road.
For G2 and G test candidates, this is not about driving aggressively or slamming the brakes for no reason. It is about learning what firm, controlled braking feels like, how your vehicle responds, and how much space you truly need to stop. That confidence can make a meaningful difference when traffic changes quickly, a pedestrian steps out, or the car ahead brakes unexpectedly.
Why Emergency Braking Practice Matters
Many learners understand the rule: leave following distance and be ready to stop. The difficult part is applying it when the situation develops in seconds. A driver who has only ever braked gently may hesitate or press the pedal too lightly during a genuine hazard. On the other hand, a driver who panics may jerk the wheel, release the brake too soon, or lose awareness of what is happening around them.
Practice helps make the correct response more familiar. You learn to identify a developing hazard early, come off the accelerator, keep your eyes up, brake firmly, and maintain a straight path. The goal is not to create fear. The goal is to build calm, repeatable control.
This skill also improves everyday driving. Once you understand stopping distance, you are less likely to follow too closely, rush through changing lights, or assume you can stop instantly on wet pavement. Good braking habits begin long before the emergency itself.
What a Controlled Emergency Stop Looks Like
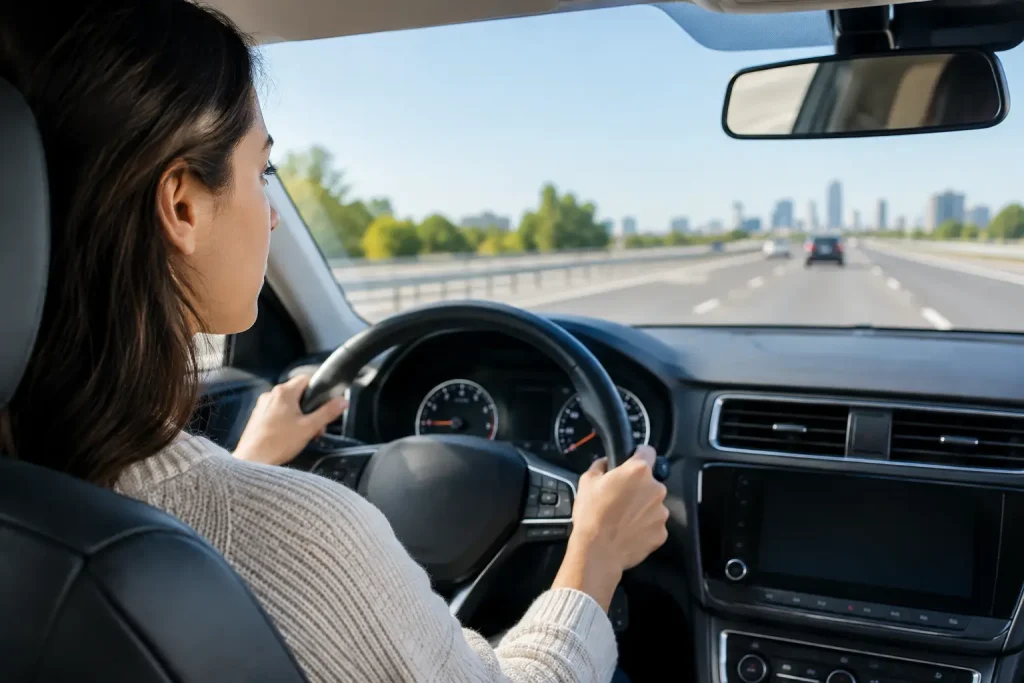
A proper emergency stop begins with your vision. Look where you want the vehicle to go – straight ahead in your lane – rather than staring down at the hood or at the obstacle. Keep both hands on the steering wheel and avoid making sudden steering inputs unless there is a safe, necessary escape path.
Press the brake pedal quickly and firmly. In most modern vehicles, including vehicles equipped with anti-lock braking systems, you should continue applying firm pressure rather than pumping the brakes. ABS may create a pulsing feeling or vibration in the pedal. That can feel surprising the first time, but it is the system working to help prevent wheel lockup while you maintain braking pressure.
As the vehicle slows, keep scanning. Check what is ahead, stay aware of traffic behind you, and avoid relaxing too early. Once the vehicle has stopped or the hazard has passed, take a moment before moving again. A safe stop is only part of the situation. You also need to decide whether it is safe and legal to continue.
The Brake Is Not the Only Skill
Strong braking does not fix poor space management. If you are following another vehicle too closely, even excellent reaction time may not give you enough distance. Maintaining a safe following gap gives you time to recognize the problem, react, and stop smoothly.
Road surface and speed matter, too. A dry, open road is very different from a rainy roadway, loose gravel, snow, or ice. Your stopping distance increases when traction is reduced, and it increases significantly as speed rises. That is why a safe driver adjusts speed and following distance before conditions become difficult.
Where to Practice Safely
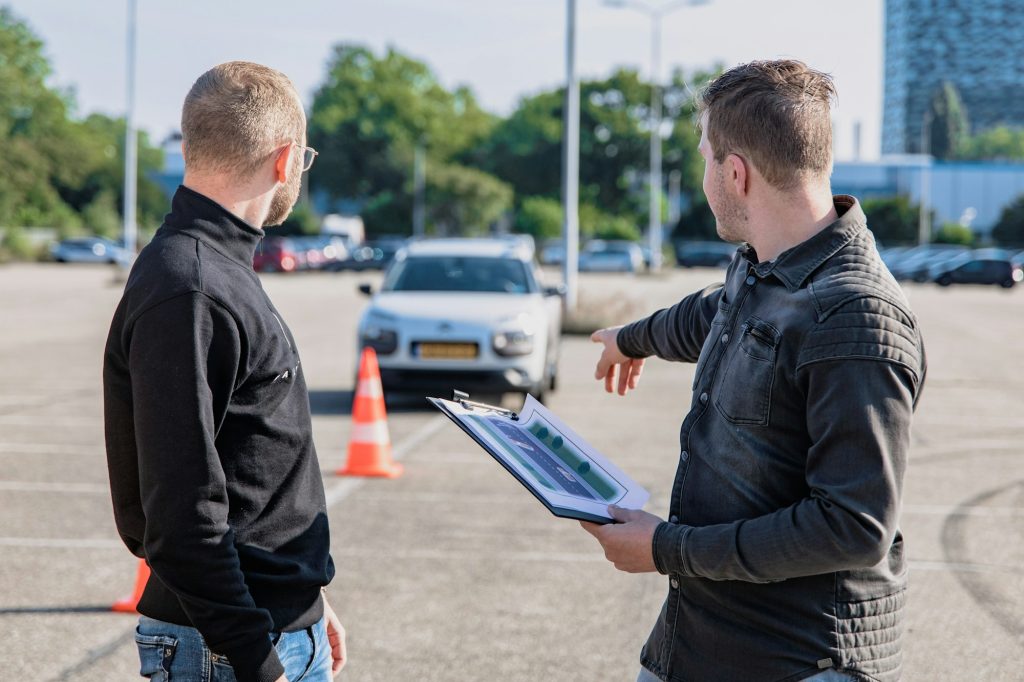
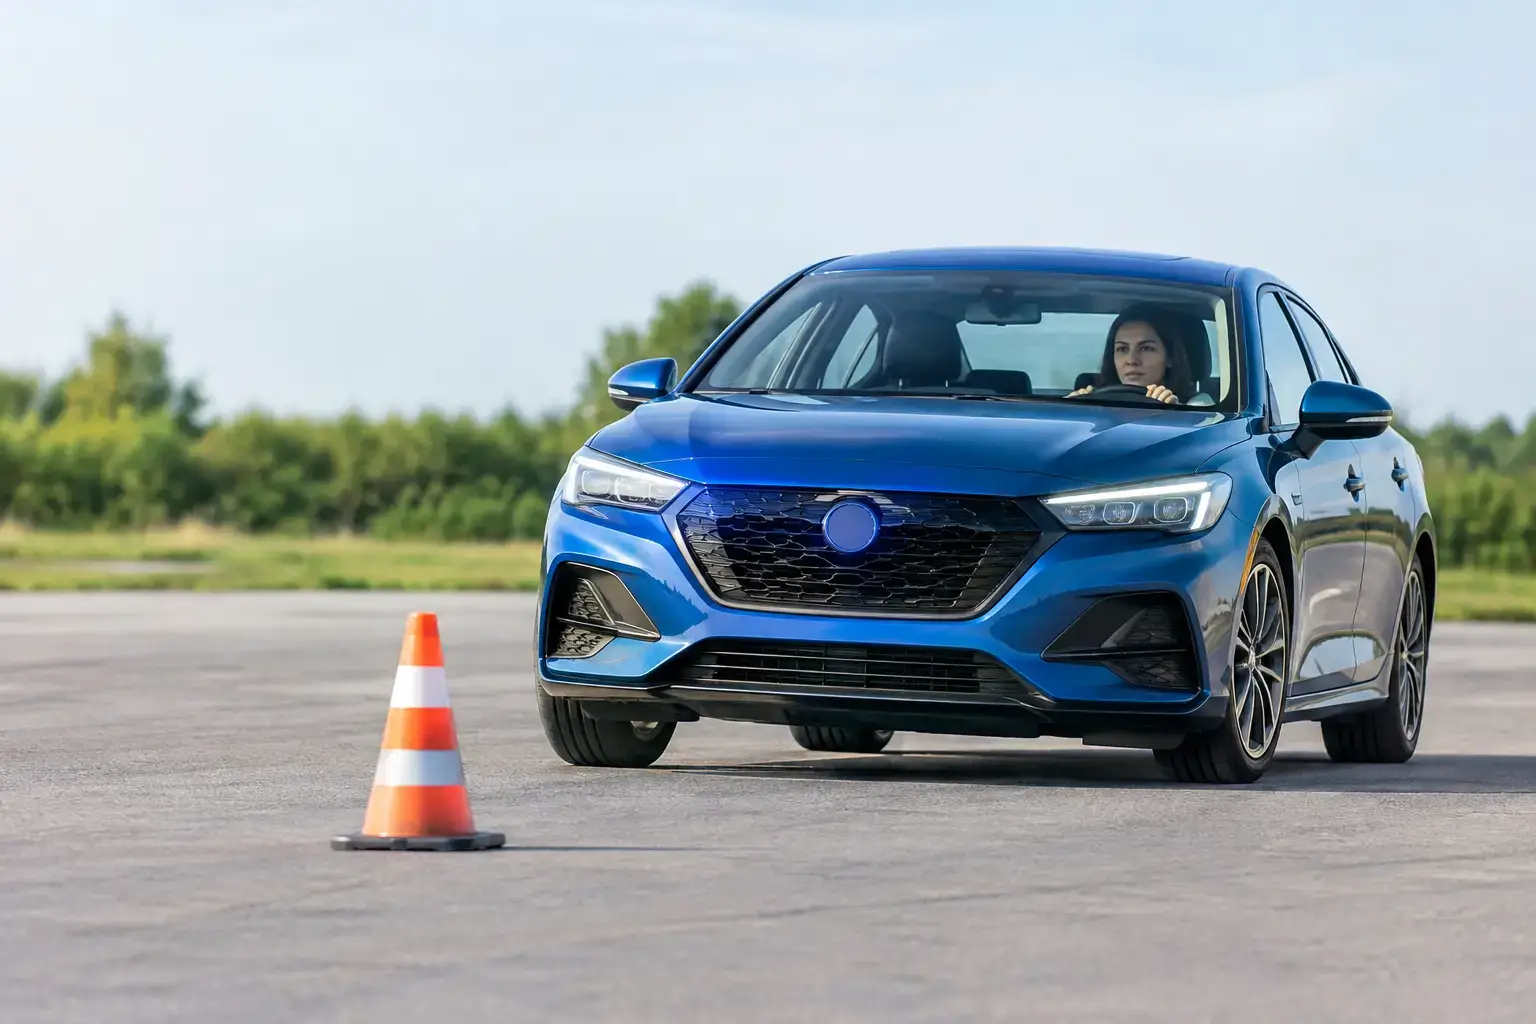
Emergency braking should never be practiced casually in traffic, near pedestrians, or on a crowded residential street. A safe practice session needs a clear, legal location with plenty of room, good visibility, and no unexpected hazards. An empty permitted lot or a quiet, low-risk area selected by a qualified instructor is usually the best starting point.
Start at low speed. The purpose is to understand pedal pressure and vehicle behavior, not to prove bravery. As your control improves, an instructor can help you practice realistic stopping scenarios at appropriate speeds and in suitable conditions.
Before practicing, make sure the vehicle is in good working order. Tires, brakes, seat position, mirrors, and seat belt use all matter. Secure loose items in the cabin, since a hard stop can send a phone, water bottle, or bag forward. If you are using a driving school vehicle, ask your instructor to explain the safety features you may feel during hard braking.
Emergency Braking Practice: A Simple Progression
The most effective emergency braking practice builds gradually. First, become comfortable with normal smooth stops. A driver who consistently brakes too late or too abruptly during routine driving should work on observation and timing before adding harder stops.
Next, practice recognizing a cue. Your instructor might identify a safe stopping point or give a clear verbal signal in a controlled setting. When you receive the cue, move your right foot from the accelerator to the brake promptly, apply firm pressure, keep the wheel straight, and bring the vehicle to a complete stop.
After each attempt, discuss what happened. Did you look far enough ahead? Did you delay before braking? Did you steer unnecessarily? Did the vehicle stop where you expected? Small adjustments are where confidence grows.
Finally, connect the exercise to real driving. On regular roads, you are not waiting for someone to tell you to brake. You are reading traffic flow, brake lights, intersections, crosswalks, parked cars, and changing road conditions. The best emergency response often happens before you ever need a full emergency stop.
Common Mistakes New Drivers Make
The most common issue is hesitation. Some learners see brake lights ahead but wait a moment too long because they hope traffic will begin moving again. A better habit is to ease off the accelerator early and prepare to brake. Early recognition gives you more choices and creates a smoother response.
Another mistake is looking down at the brake pedal or locking your attention on the vehicle ahead. Keep your eyes forward and scan beyond the immediate car in front of you. That wider view helps you notice slowing traffic sooner.
Some drivers also try to steer around a problem before they have checked whether another lane is clear. Swerving can create a second collision risk, especially at higher speeds. In many situations, controlled braking in your lane is safer than an impulsive lane change. It depends on the space available, the road conditions, and what is happening around you.
Finally, learners sometimes release the brake because the pedal vibrates. If the vehicle has ABS, that vibration is expected during hard braking. Stay firm on the pedal and let the system assist you. Your instructor can help you experience this safely so it does not catch you off guard later.
How This Supports Your Road Test
G2 and G examiners are looking for safe judgment, observation, speed control, and smooth vehicle handling. They do not expect you to manufacture an emergency situation during a road test. What they will notice is whether you leave enough space, respond appropriately to traffic changes, brake in a controlled way, and remain composed when conditions become busy.
Emergency-stop skills support all of those areas. A driver who understands following distance tends to make better decisions near intersections. A driver who knows how their vehicle responds under firm braking is less likely to panic when traffic slows suddenly. A driver who practices with feedback can correct habits before they become automatic.
At Autoz Driving School, private lessons can be tailored to the areas that make you feel least confident, including braking control, busy-road awareness, and road test preparation. The right practice plan should challenge you without putting you in situations that are beyond your current skill level.
Build Confidence Before You Need It
You do not need to wait for a close call to learn how to stop safely. Practice with a patient instructor, ask questions about your vehicle, and give yourself time to build the skill step by step. The calm response you develop in a controlled setting can be the one that protects you when the road becomes unpredictable.